Hyderabadi egg dum biryani
Hello everybody, it is John, welcome to my recipe page. Today, I'm gonna show you how to make a distinctive dish, Hyderabadi egg dum biryani. It is one of my favorites food recipes. This time, I am going to make it a bit tasty. This will be really delicious.
Hyderabadi egg dum biryani is one of the most well liked of recent trending meals on earth. It is enjoyed by millions every day. It is easy, it is quick, it tastes yummy. Hyderabadi egg dum biryani is something that I have loved my entire life. They're nice and they look fantastic.
Many things affect the quality of taste from Hyderabadi egg dum biryani, starting from the type of ingredients, then the selection of fresh ingredients, the ability to cut dishes to how to make and serve them. Don't worry if you want to prepare Hyderabadi egg dum biryani delicious at home, because if you already know the trick then this dish can be used as an extraordinary special treat.
As for the number of servings that can be served to make Hyderabadi egg dum biryani is 3 servings. So make sure this portion is enough to serve for yourself and your beloved family.
Just in addition, the time it takes to cook Hyderabadi egg dum biryani estimated approx 40minutes.
To begin with this particular recipe, we have to prepare a few ingredients. You can cook Hyderabadi egg dum biryani using 39 ingredients and 17 steps. Here is how you cook that.
#BiriyaniRecipes
Egg Biryani is one of the famous Indian one pot meal biryani using hard boiled Hyderabadi biriyani made with boiled eggs in dum style is a quick, flavorful dish and is great for parties or weekend meals.
Ingredients and spices that need to be Make ready to make Hyderabadi egg dum biryani:
- 1 tablespoon Oil
- 1/2 Bay leaf
- 1/4 teaspoon shahi jeera
- 1" Cinnamon
- 3 Cloves
- 2 Cardamom pods
- 1 small Tomato chopped
- 2 tablespoon Yogurt
- 3 cups Basmati Rice
- 1 tablespoon Biryani Masala
- 1 teaspoon Red chilli powder
- For garnishing:
- 1/2 teaspoon Saffron dissolved in ½ cup warm milk
- 2 tablespoon Ghee
- 2 tablespoon Mint,finely chopped (to garnish)
- For the Egg masala:
- 1 teaspoon Ginger garlic paste
- 2 teaspoon Red chilli powder
- 1 teaspoon Black pepper powder
- 2 tablespoon Besan flour
- 2 teaspoon Salt
- 2 half-boiled potatoes
- 4 Boiled eggs
- For fried onions:
- 2 small Onions, (½ cup, sliced thinly)
- 6 Cashewnuts
- 3-4 tablespoons Oil to fry
- For rice masala:
- 6 Cashew nuts
- 1/2 tablespoon Khus khus (white poppy seeds)
- 1/2 tablespoon Cumin seeds/ jeera
- 1/2 tablespoon Fennel seeds
- 2 tablespoon Coconut
- 4 pods Garlic
- 1 inch Ginger
- 4 Green chilli
- 1/2 cup Mint, chopped finely
- 1/2 cup Coriander leaves, chopped finely
- 1 teaspoon kewra water(optional)
Instructions to make to make Hyderabadi egg dum biryani
- Wash and soak rice for at least 30 -40 minutes.
- Bring 4 to 5 cups of water to a boil and cook rice along with Cardamoms and shahi jeera.When the rice is cooked (fully cooked but grainy and firm) drain it to a colander.
- For Fried onions:
Heat a pan with oil, add the sliced onions and cook in medium heat till turn golden brown. Add cashews at the end and fry too. Stir in the middle so that it does not stick to the bottom. Set aside. - For Egg masala:
Mix all the ingredients under “Egg masala” with little water and add the Eggs along with the half-boiled potatoes. Heat a pan with 1 tablespoon of butter. Now add both the marinated eggs and potatoes and coat till they get golden brown. - For masala:
Grind the garlic, ginger, mint(few), coriander(few),cashews, coconut (optional), poppy seeds, fennel seeds, cumin seeds, chillis with two tablespoon of water into a smooth paste. - Now take a big pan, add oil or ghee in medium heat, add the spices (cardamom, bay leaf, cinnamon, cloves), and then add the tomatoes and grinded paste and sauté them till the tomatoes are not raw and little mushy.
- Now add the yogurt, chilli powder, biryani powder and mix well.Switch off the stove and set the pan away.[I always move the skillet away from the heat when adding yogurt which prevents it from curdling.]The Masala Paste is ready.
- Now,take a wide mouthed pot;add half of the rice to the pot.
- Layer the egg-potato mixture over the rice and spread it well.
- Spread the prepared Masala Paste evenly over the rice.
- Switch off the stove after 5minutes and open the lid.Drizzle kewra water, the saffron and milk over the rice,sprinkle fried onions and rest of the mint and coriander leaves;keep it closed again with the lid.
- Now add rest of the rice as top layer.Put the pot on the stove,close the lid tight and keep it in medium heat for 5 minutes.
- Now,heat a tawa or cast iron pan.When the tawa turns hot,place the Dum pot on it.Set the flame to very low.
- Then,Dum it for 10 minutes on the low flame.
- Switch off the stove and allow it to rest for another 10 minutes.
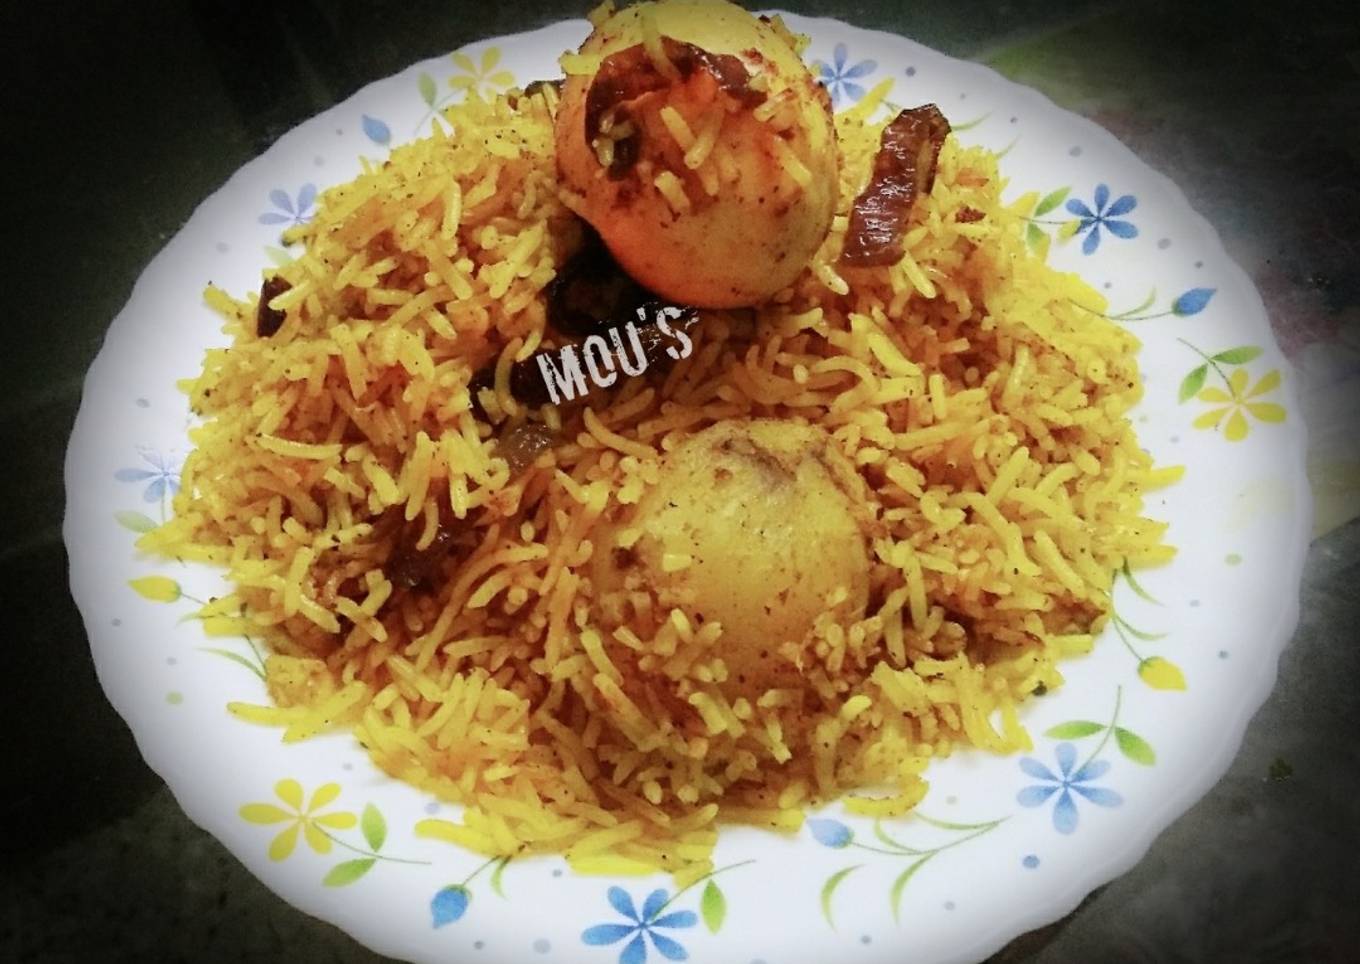
- Dish out the Biriyani.
- Serve Hyderabadi Egg Biriyani with Onion Raita.
As your experience and also self-confidence expands, you will certainly find that you have a lot more all-natural control over your diet regimen and adjust your diet to your personal preferences gradually. Whether you wish to serve a dish that uses less or more ingredients or is a bit more or less hot, you can make simple changes to attain this goal. To put it simply, start making your dishes on time. When it comes to fundamental cooking skills for newbies you do not need to discover them but just if you master some simple food preparation methods.
This isn't a complete overview to fast as well as very easy lunch dishes yet its great something to chew on. Ideally this will get your creative juices flowing so you can prepare scrumptious dishes for your family members without doing a lot of square meals on your journey.
So that is going to wrap this up for this exceptional food Recipe of Homemade Hyderabadi egg dum biryani. Thank you very much for reading. I am confident that you can make this at home. There is gonna be more interesting food at home recipes coming up. Remember to bookmark this page on your browser, and share it to your loved ones, colleague and friends. Thank you for reading. Go on get cooking!


Comments
Post a Comment