Simply Tasty Chicken/Kozhi Biryani
Hey everyone, it's me again, Dan, welcome to our recipe site. Today, I'm gonna show you how to prepare a special dish, Simply Tasty Chicken/Kozhi Biryani. One of my favorites. This time, I am going to make it a little bit unique. This will be really delicious.
Simply Tasty Chicken/Kozhi Biryani is one of the most well liked of current trending foods in the world. It is easy, it's quick, it tastes delicious. It is enjoyed by millions every day. Simply Tasty Chicken/Kozhi Biryani is something that I have loved my whole life. They're nice and they look fantastic.
Many things affect the quality of taste from Simply Tasty Chicken/Kozhi Biryani, starting from the type of ingredients, then the selection of fresh ingredients, the ability to cut dishes to how to make and serve them. Don't worry if you want to prepare Simply Tasty Chicken/Kozhi Biryani delicious at home, because if you already know the trick then this dish can be used as an extraordinary special treat.
As for the number of servings that can be served to make Simply Tasty Chicken/Kozhi Biryani is 8-serving. So make sure this portion is enough to serve for yourself and your beloved family.
Just in addition, the time it takes to cook Simply Tasty Chicken/Kozhi Biryani estimated approx 60 mins.
To get started with this recipe, we must prepare a few components. You can have Simply Tasty Chicken/Kozhi Biryani using 27 ingredients and 8 steps. Here is how you can achieve it.
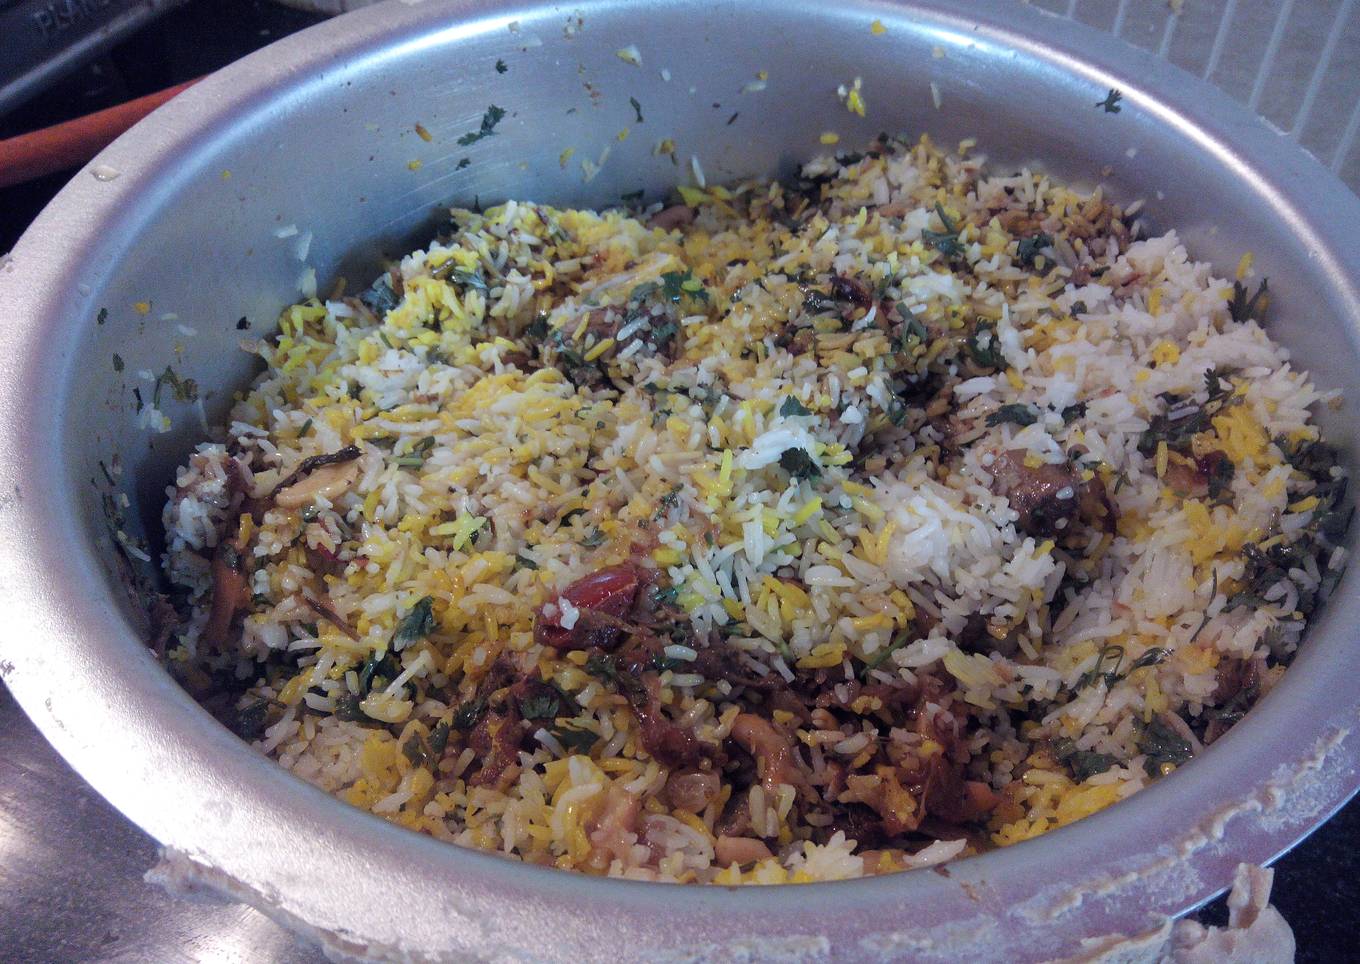
A Christmas special lunch made by my dear mother.... A rich quick chicken gravy layered with fresh basmati rice...and delectably garnished with all variety items..
Ingredients and spices that need to be Prepare to make Simply Tasty Chicken/Kozhi Biryani:
- 2 kilograms Chicken
- 6 glasses Basmati rice Biryani
- 10 glasses Water (same measurement glass)
- 100 grams Masala Eastern Biryani
- 2 - 3 Curd tablepsoons
- 4 - 6 Onion big
- 1 inch ginger
- 10 - 12 pods garlic
- 3 - 4 numbers green chilli
- 2 tablespoons pepper powder
- 1 tablespoon ginger garlic paste - 2
- 3 - 4 tomatoes medium
- 1 cup coriander leaves chopped finely
- 1/2 cup mint leaves chopped finely
- 1/2 cup cashews
- 1/4 cup kaskas soaked
- 1/2 cup ghee
- 1 - 2 teaspoons Turmeric powder
- 2 tablespoons Coriander Powder
- 2 tablespoons Garam masala homemade - 3
- 1/2 cup onions Garnish - Browned
- 1/2 cup Coriander leaves
- 1/2 cup nuts raisins Fried and
- optional strands saffron a few
- 1 teaspoon orange milk coloring in 1/4 cups
- 4 - 5 drops rose essence
- as required Whole spices -
Steps to make to make Simply Tasty Chicken/Kozhi Biryani
- Cut and clean the chicken.Marinate the chicken pieces in a simple marinade of 1 teaspoon turmeric, curd, biryani masala, coriander powder and ginger garlic paste, for around atleast half an hour. Fry these chicken pieces in around 1/2 cup oil till almost cooked.
- In a kadai, saute the sliced onions in 2 tablespoons ghee, along with a paste made from the ginger, garlic, chillies, cashews and kaskas soaked. fry till nicely brown. add the masalas like remaining coriander powder, garam masala(cloves, pepper, cinnamon, nutmeg, green cardamon and big cumin seeds),pepper and biryani masala. add the chicken pieces and the chopped tomatoes. Add some water maybe around 1/2 cup. Cook for around 10 mins. Add the coriander and mint leaves chopped finely. Let the...
- Meanwhile, soak the rice for around 20-25 minutes. Drain it. In a wide aluminum vessel, with whole spices like Bayleaf-1,Green cardamon -4, Cinnamon stick-`,Cloves-2,Pepper-4,Star anise- 3 in some ghee, fry the rice. Now add the water correctly, along with some curd,oil and lemon juice. Cover and let it boil. Once boiling lower and let it simmer for around 10-15 mins until the rice is 3/4 cooked.
- As soon as the rice is done, the water will be absorbed and the rice will look abit soggy and cooked up, but dont worry it will be set when it cools and gets layered. Set it aside. Keep the garnishing ready also. Also the saffron strands soaked in the milk. If not the coloring will do. then add this to some rice kept aside(maybe 1 cup).
- In the biryani vessel, start assembling the biryani. First a dash of ghee/oil, then the chicken gravy with some pieces, the white rice, the coriander chopped, the brown onions, few cashews, raisins, the yellow rice little, and little ghee. Repeat on till last layer is rice. Garnish well on top, and add the ghee well on top. Sprinkle the essence.
- Now, cover the lid, on the sides of the lid, press fresh prepared atta/ or any dough nicely keeping the cover tight enough not to let out any air. Cook this on medium heat for around 15 mins.
- Nicely toss the biryani without opening and then let it sit off till the time of serving.
- Serve hot with fresh raita,pickle and papad! It will taste the best as the biryani sits for few more days!
As your experience and also confidence expands, you will certainly find that you have extra all-natural control over your diet regimen as well as adjust your diet to your personal tastes over time. Whether you intend to offer a recipe that utilizes less or even more components or is a little bit basically spicy, you can make basic modifications to achieve this goal. Simply put, begin making your dishes promptly. As for basic food preparation skills for beginners you do not require to learn them however just if you master some easy food preparation methods.
This isn't a complete guide to quick as well as very easy lunch dishes but its great something to chew on. With any luck this will obtain your imaginative juices moving so you can prepare tasty meals for your household without doing too many heavy meals on your trip.
So that is going to wrap it up with this special food Simple Way to Prepare Favorite Simply Tasty Chicken/Kozhi Biryani. Thank you very much for reading. I'm confident you will make this at home. There's gonna be more interesting food at home recipes coming up. Remember to bookmark this page in your browser, and share it to your family, friends and colleague. Thank you for reading. Go on get cooking!


Comments
Post a Comment